



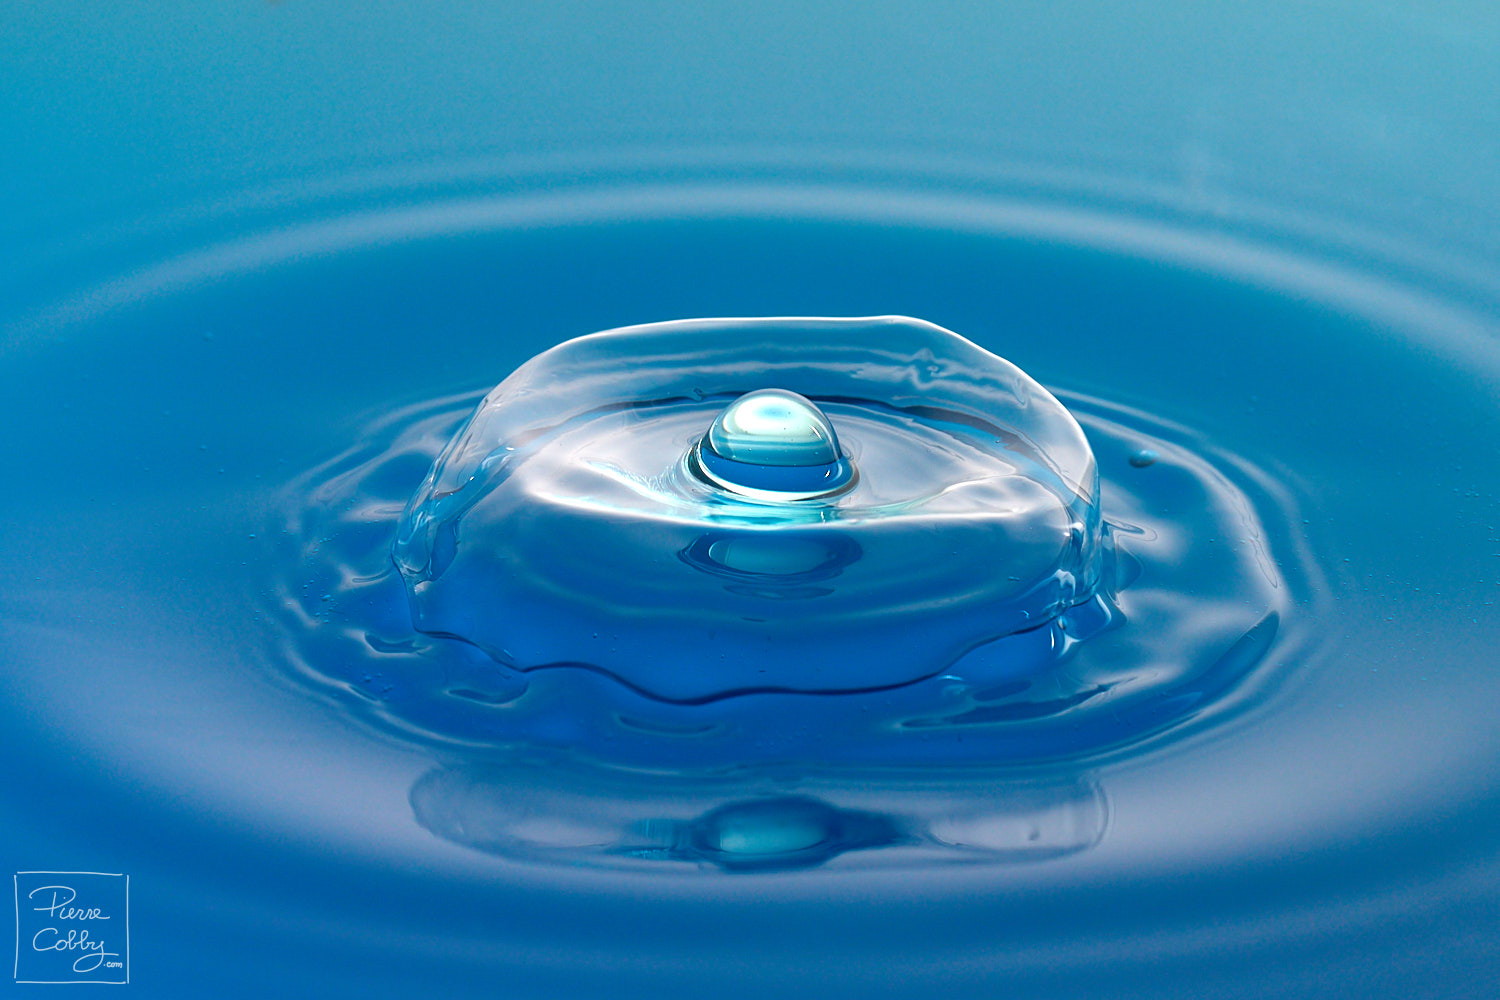
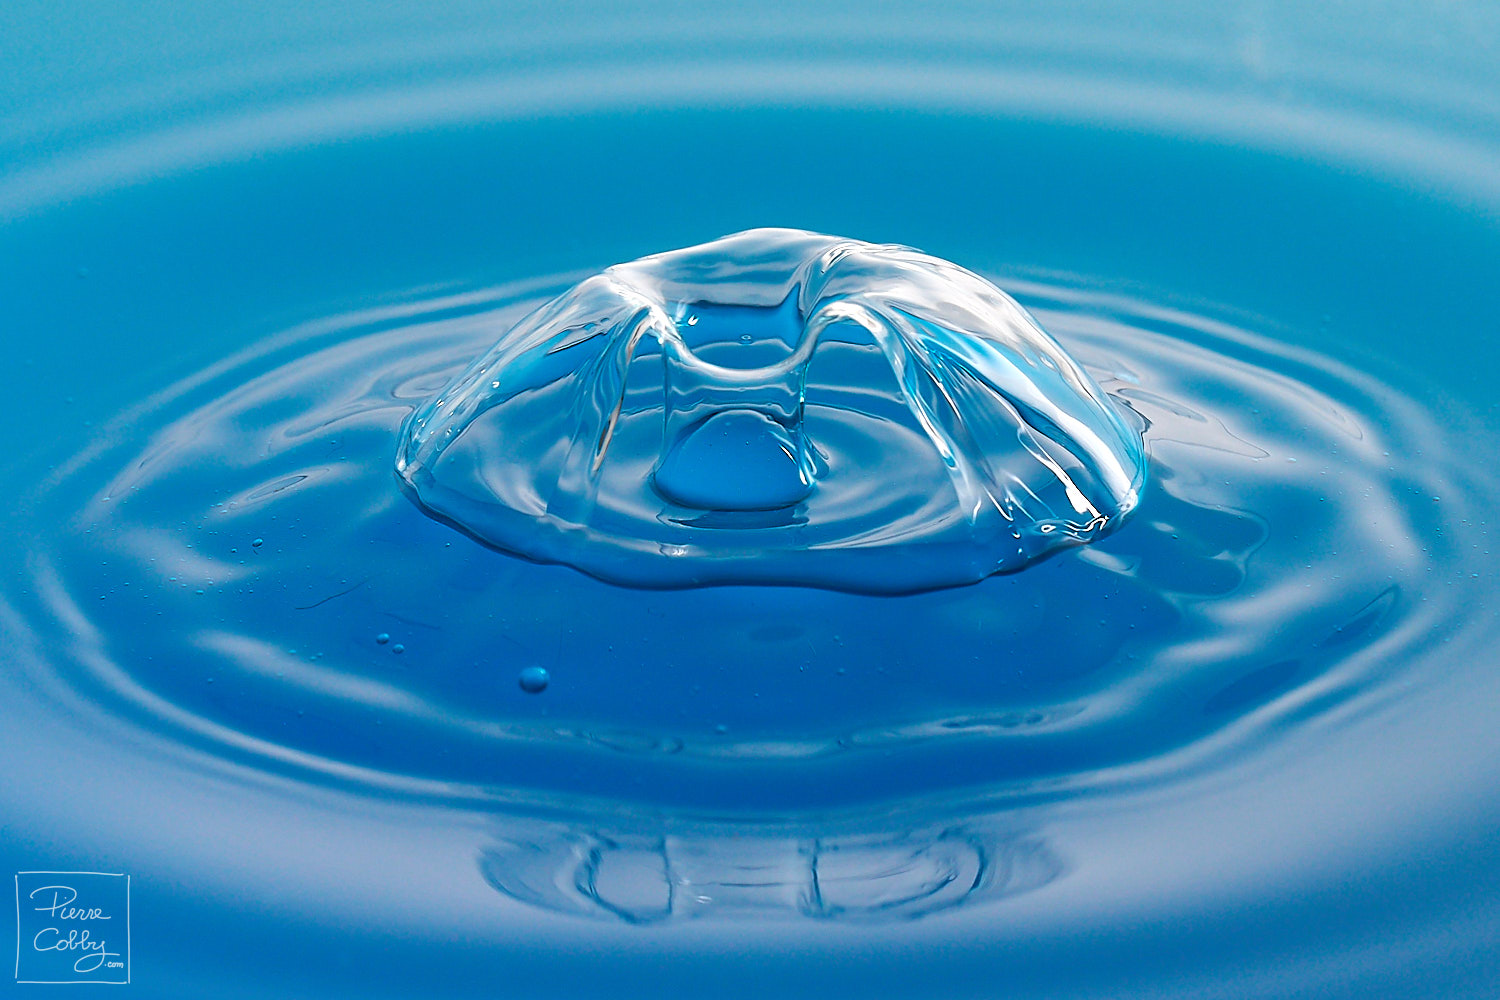
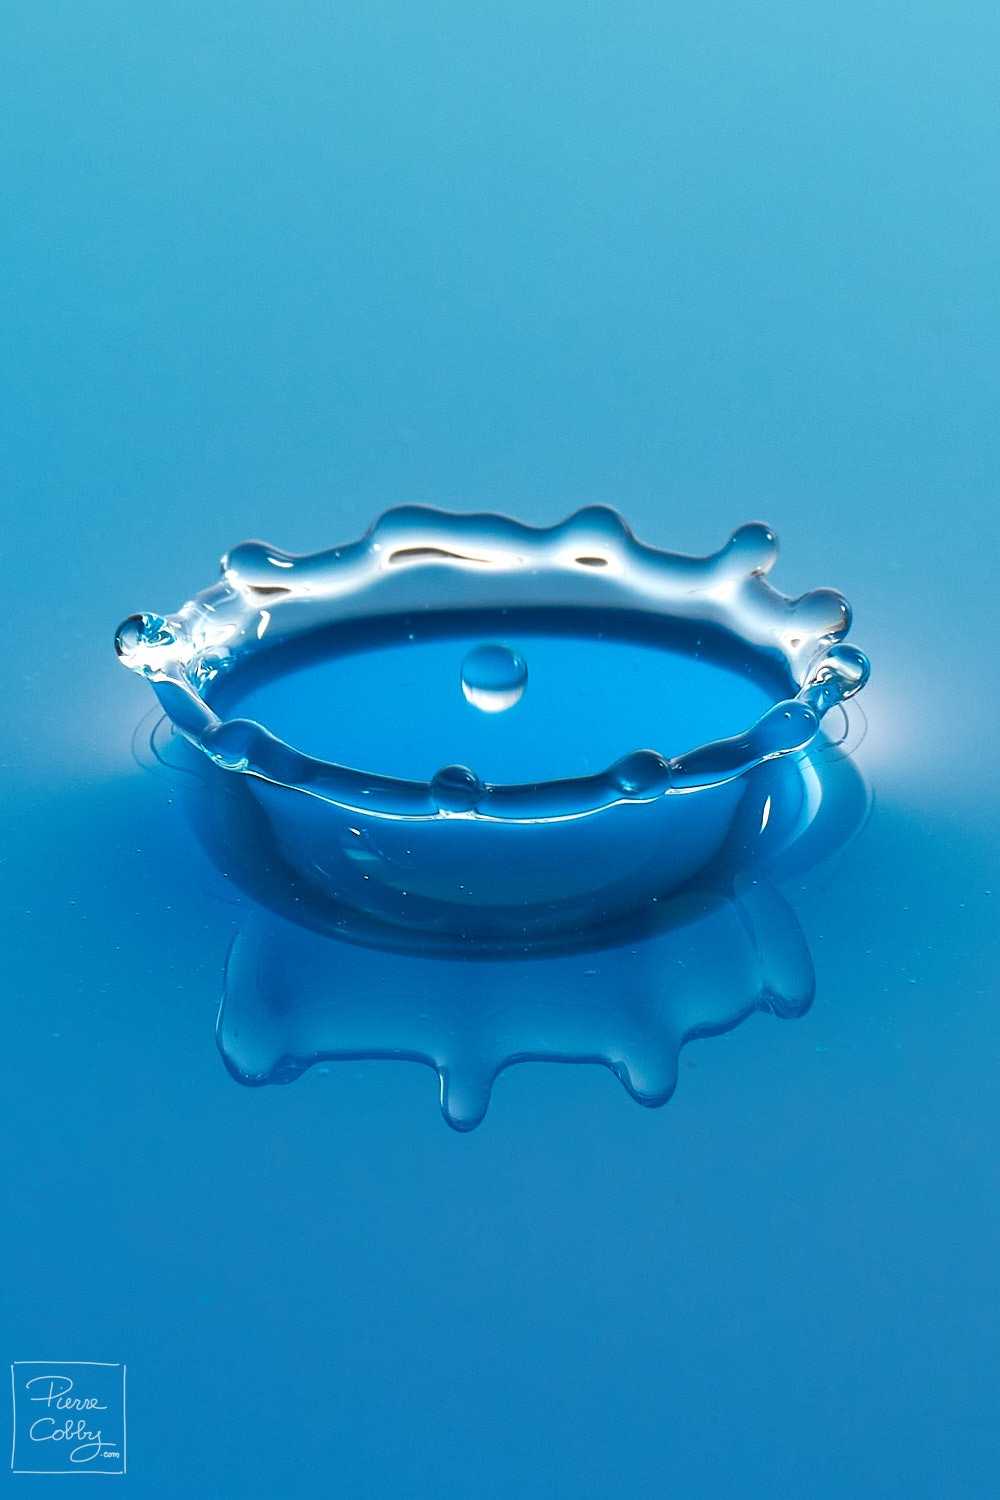
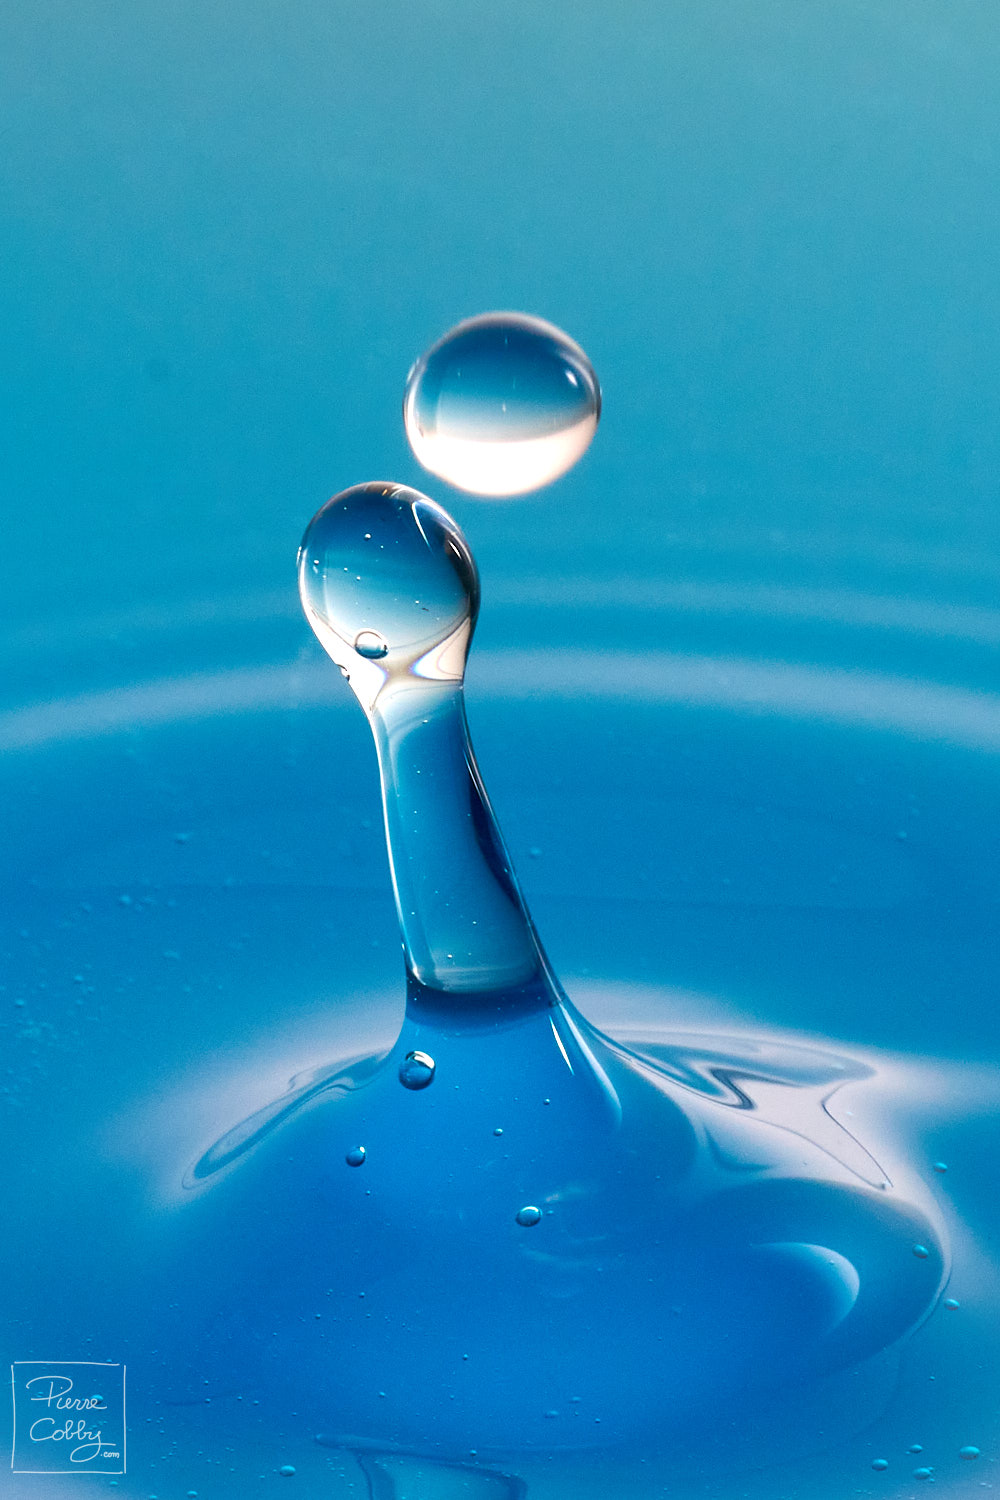
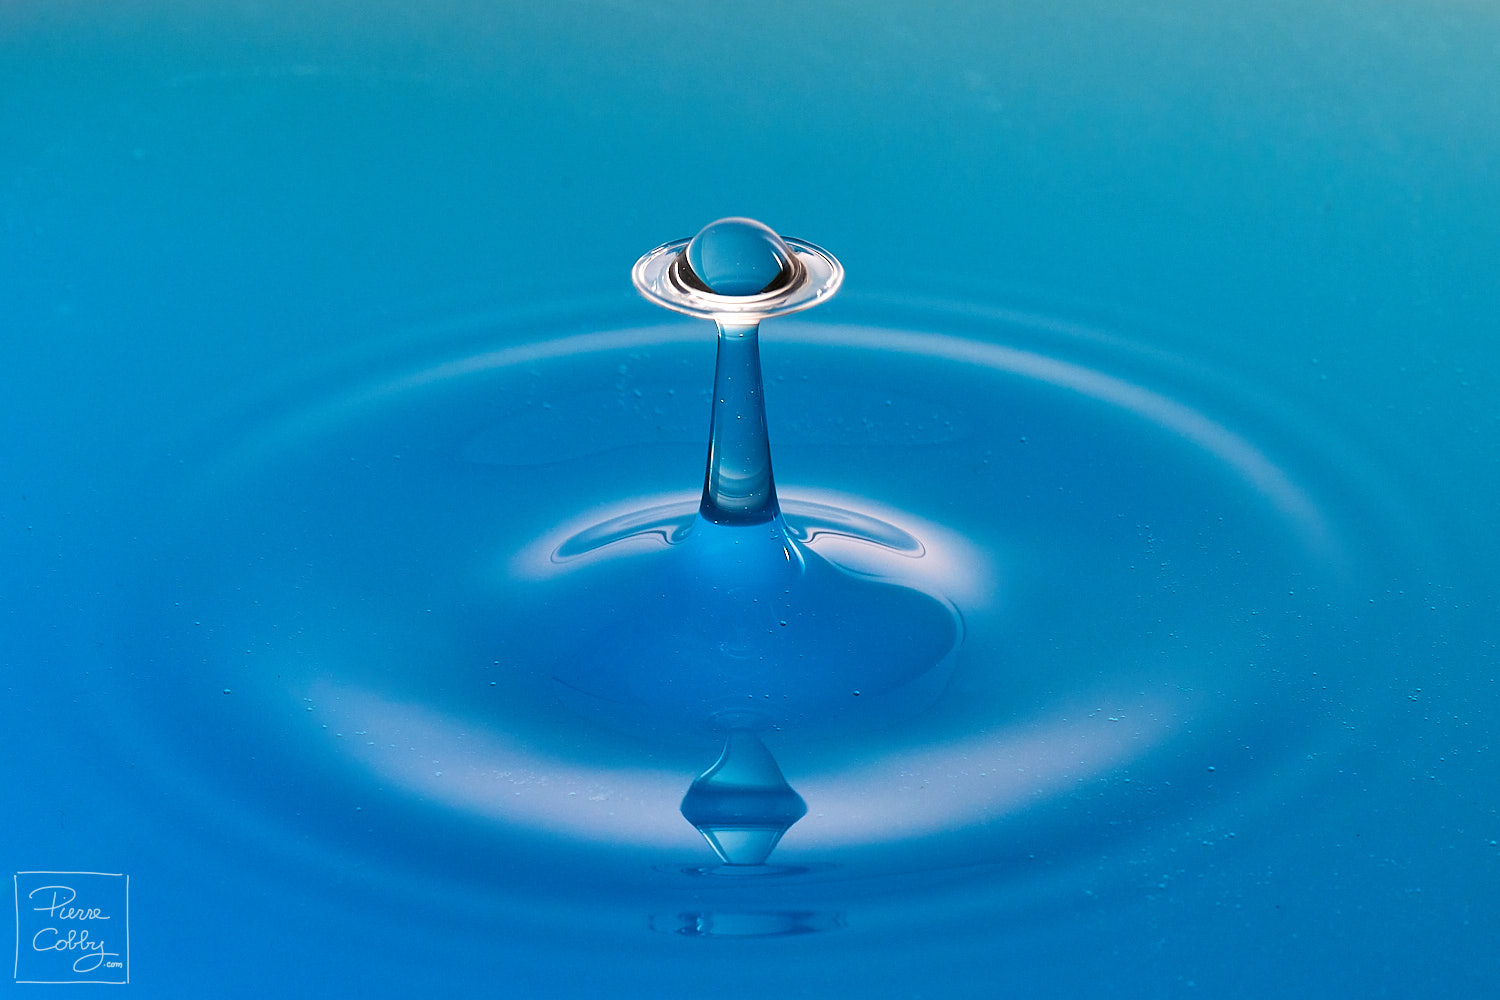
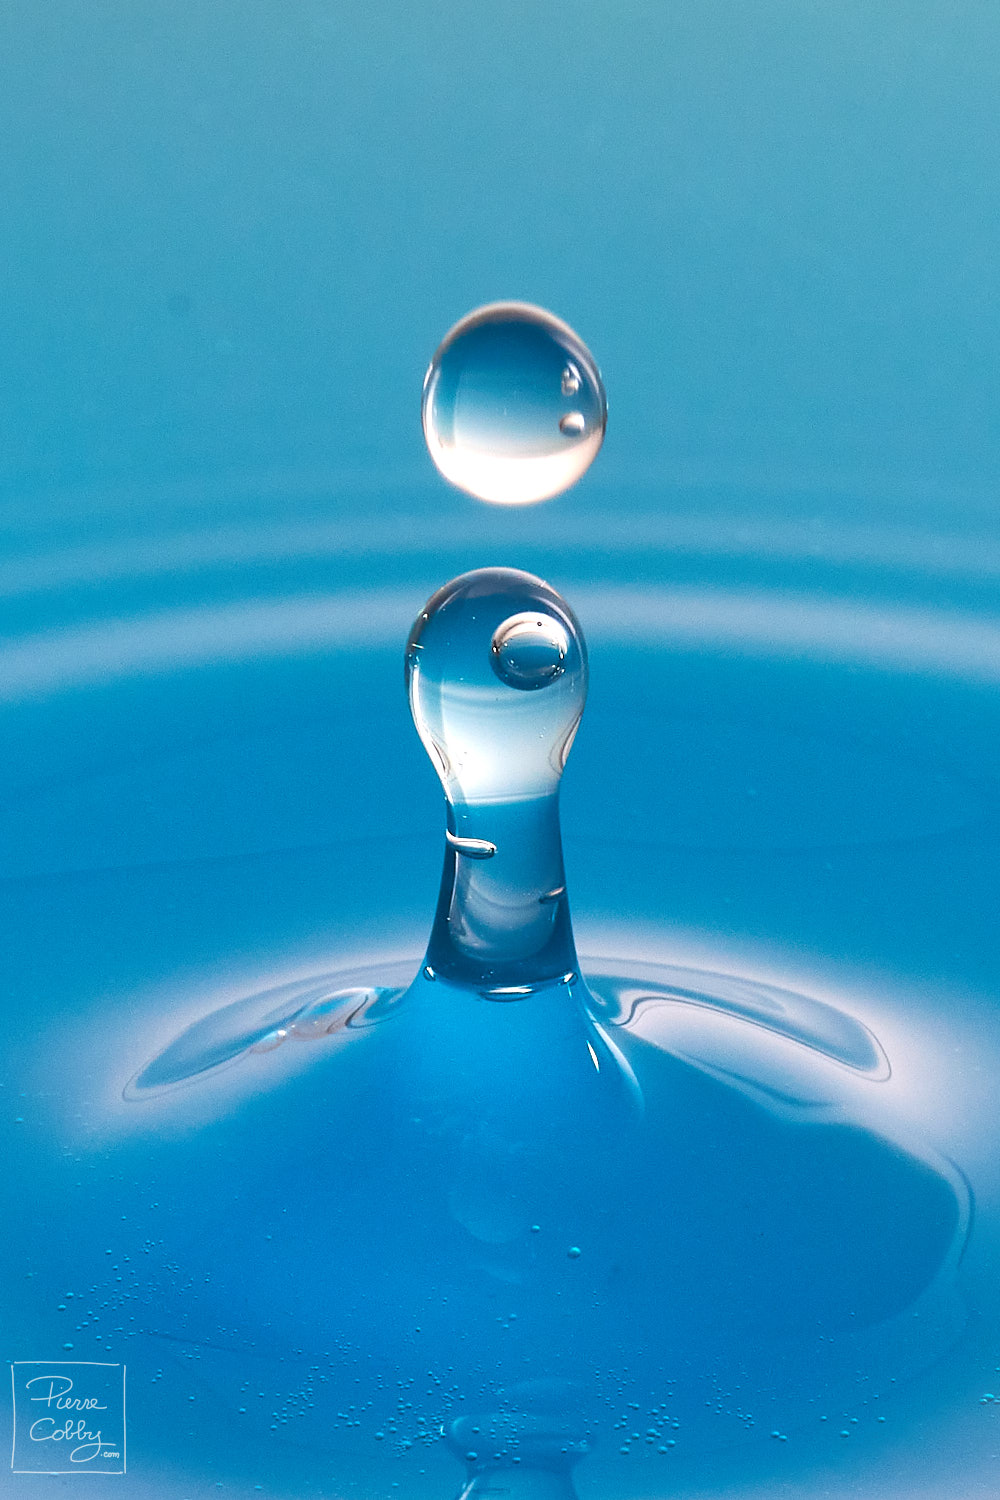
Here is how I made these photos. I set everything up on a table, with my camera, a flash, a drop controller and a few simple items from the kitchen.
What I Used
- A Miops Splash: a small valve that releases water drops at precise moments. It also triggers the camera and the flash, and I controlled it with an app on my smartphone.
- A camera on a tripod.
- A flash.
- Water thickened with xanthan gum (see below).
- Food coloring.
- A large bowl, and a tray to put under it.
- White panels (foam board or white cardboard) placed around the set.
How Much Xanthan Gum?
Xanthan gum is a food thickener sold in supermarkets and health food stores. It makes the water a little thicker, so the drops and splashes keep their shape longer and look smoother.
- I started with 0.1%: 1 gram per liter of water.
- For taller columns and drop collisions, the water can be made thicker, up to 0.2 to 0.3% (2 to 3 grams per liter).
- Above that, the water becomes too thick and the drops no longer form properly.
I sprinkled the powder slowly into the water while whisking (a hand blender works well), then let it rest for a couple of hours so the air bubbles disappeared. For the bowl, I added a few drops of food coloring.
Preparing the Set
- I prepared the water with xanthan gum. I filled the Miops Splash tank with this thickened water, without coloring (colored water works too), and the bowl with the same water colored with food coloring.
- I surrounded the set with white panels. Water drops act like tiny mirrors: without panels, the room is reflected in every drop.
- I put the bowl on a tray and filled it with the colored water to the very brim, until it almost overflowed. This way the edge of the bowl does not show up as a reflection in the water. The tray caught the water that spilled over.
- I mounted the Miops Splash above the bowl and connected it to the flash, the camera and my smartphone.
- I focused manually on the spot where the drops hit the water, using a pencil held at that spot, then removed it.
Taking the Photos
For me, water drop photography was mostly trial and error.
- I took many test shots and changed the timing in the app a little each time (drop size, delay between drops, flash delay). Changing one setting at a time showed me what made the difference.
- I also tried with two drops, adjusting the timing so that the second drop falls onto the column of water that rises after the first drop hits the surface. This collision created the most interesting shapes, like the umbrella and the colliding drops in the photos above.
Questions?
If you have questions or want to share your own water drop photos, feel free to contact me through social media or by e-mail: the links are at the top and bottom of this page.